|
An exciting item found in Ravattula Ristimäki Church in grave 41/2016... a discovery of madder dyed, woven wool socks! This may not sound very exciting, because… socks. However, the exciting bits are that they are woven, instead of naalbound, and they are dyed with madder, which confirms much earlier trades than thought before.
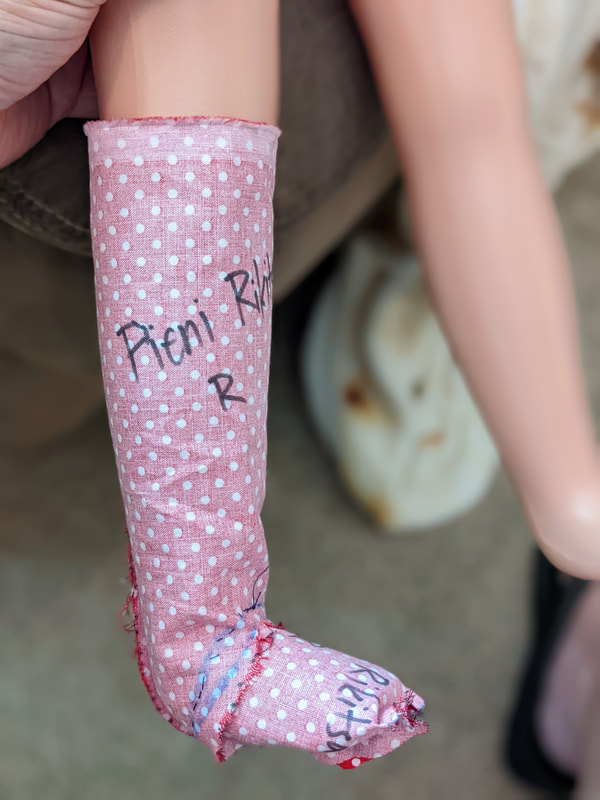
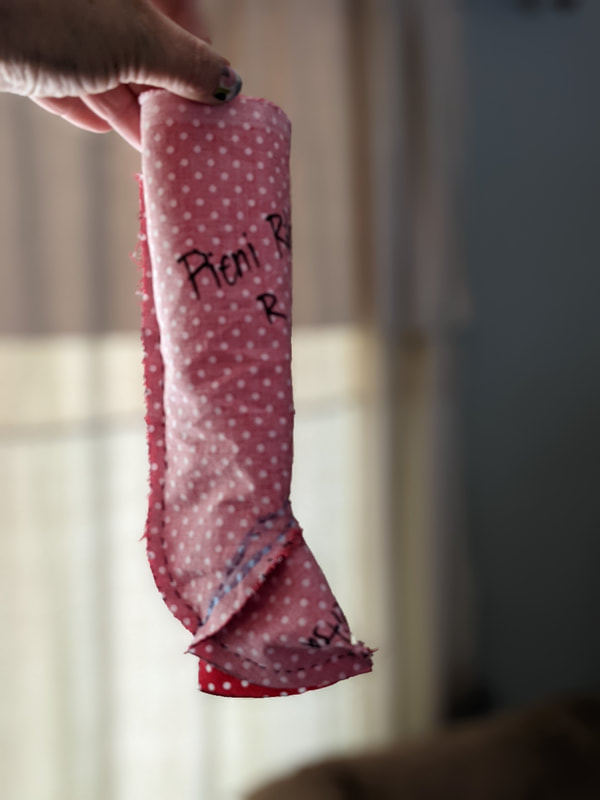
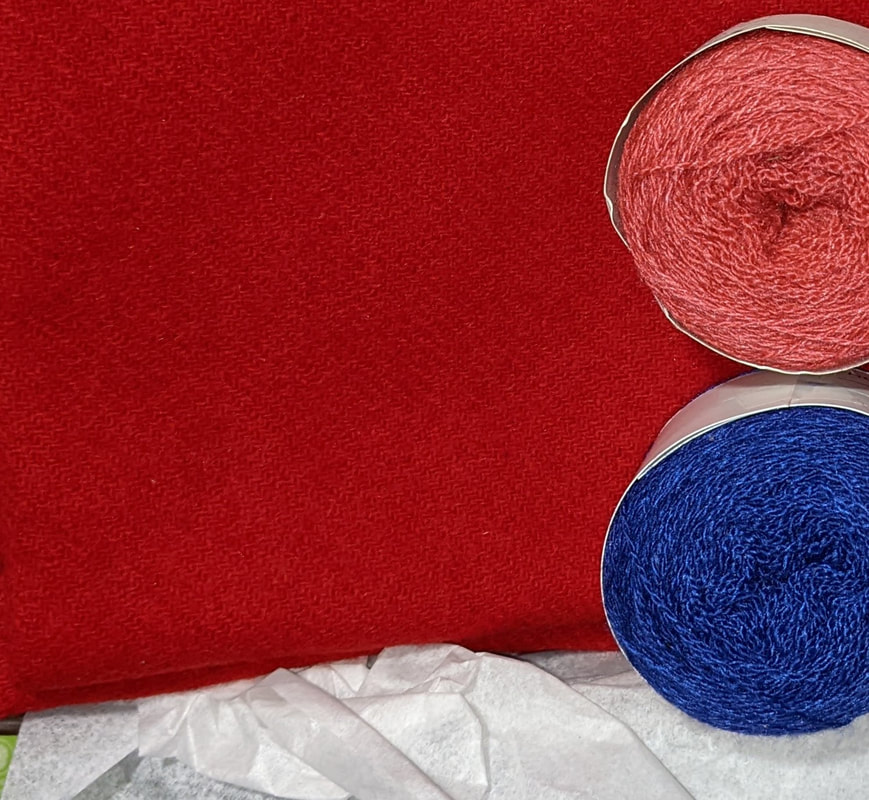
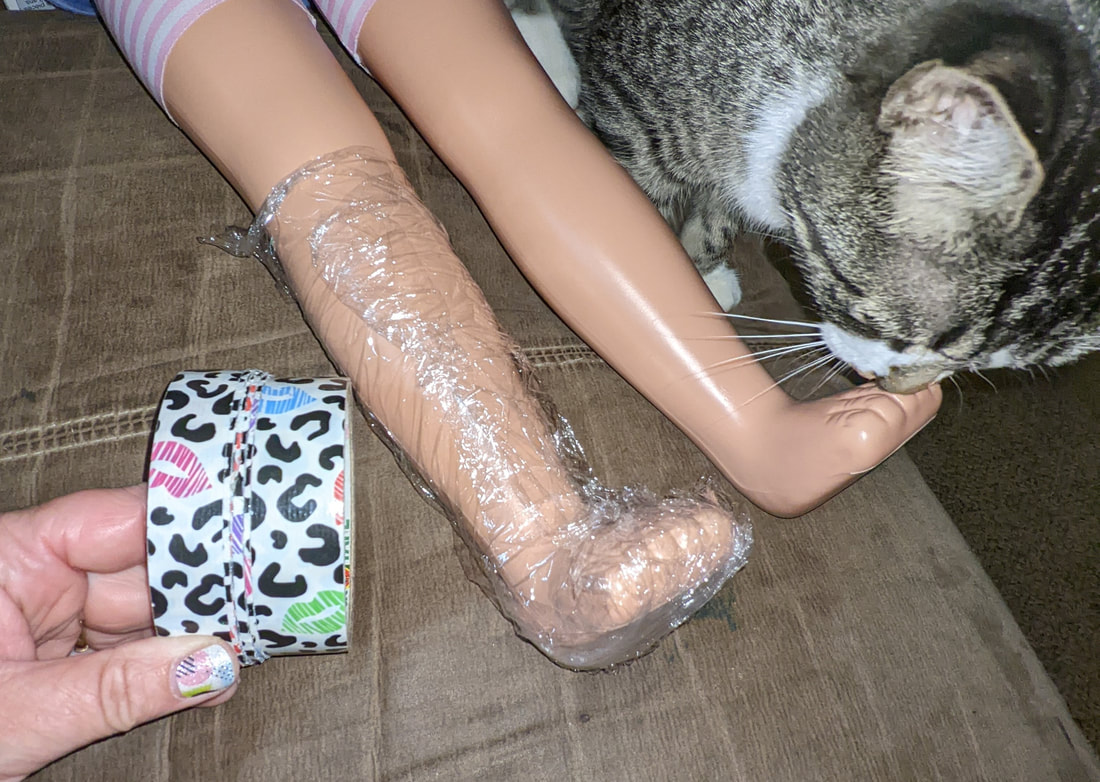
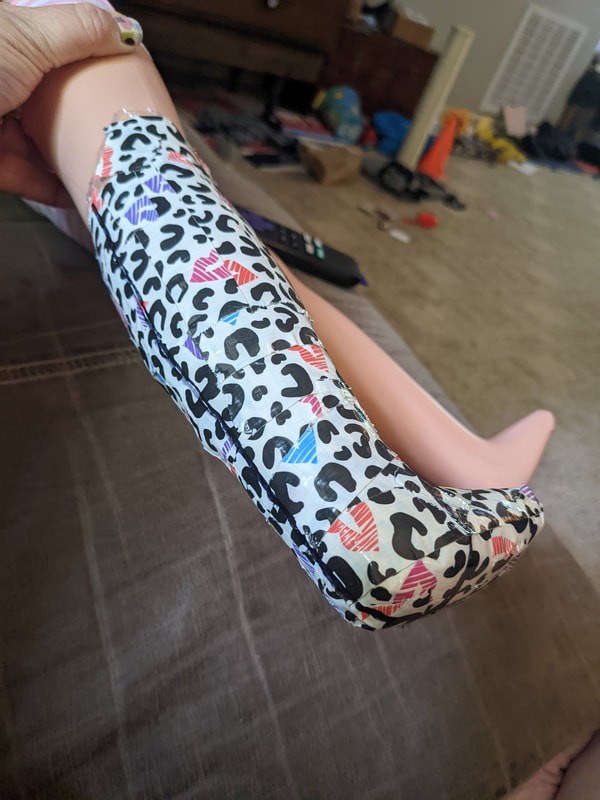
The original weave of the fabric is a 2/2 twill. I have used a plain 1/1 weave for the pieni (small) doll socks. I have 2/2 twill wool for my adult human sock creation. Only the top of the socks has survived so the actual construction shape is unknown. I have drafted two patterns based on the London hose pattern and an alternative tweak; walking on seams does not sound comfortable to me. (Turns out, after creating and wearing my linen London Hose style socks- they're quite comfortable! maybe even adding a modicum of padding. I made these socks post this project.) The following links places I sourced information on socks. There are patterns available from many places, and if you look on You Tube you'll find tutorials as well. But this is where I got most helpful info, including period examples , book pictures and references, and how-to's. MAKING MY PATTERN FOR PIENI RIKISSAHelp from our little Kisu... "why are you wrapping this doll in plastic and tape mum?"
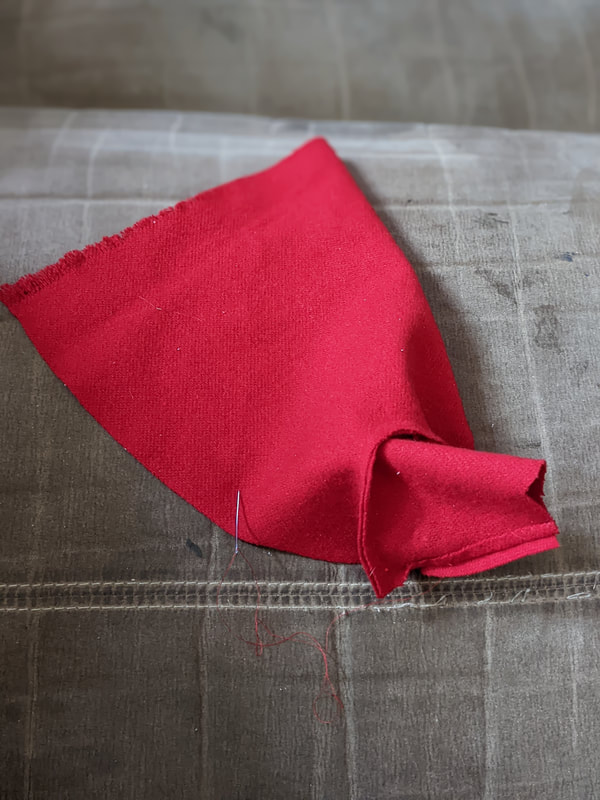
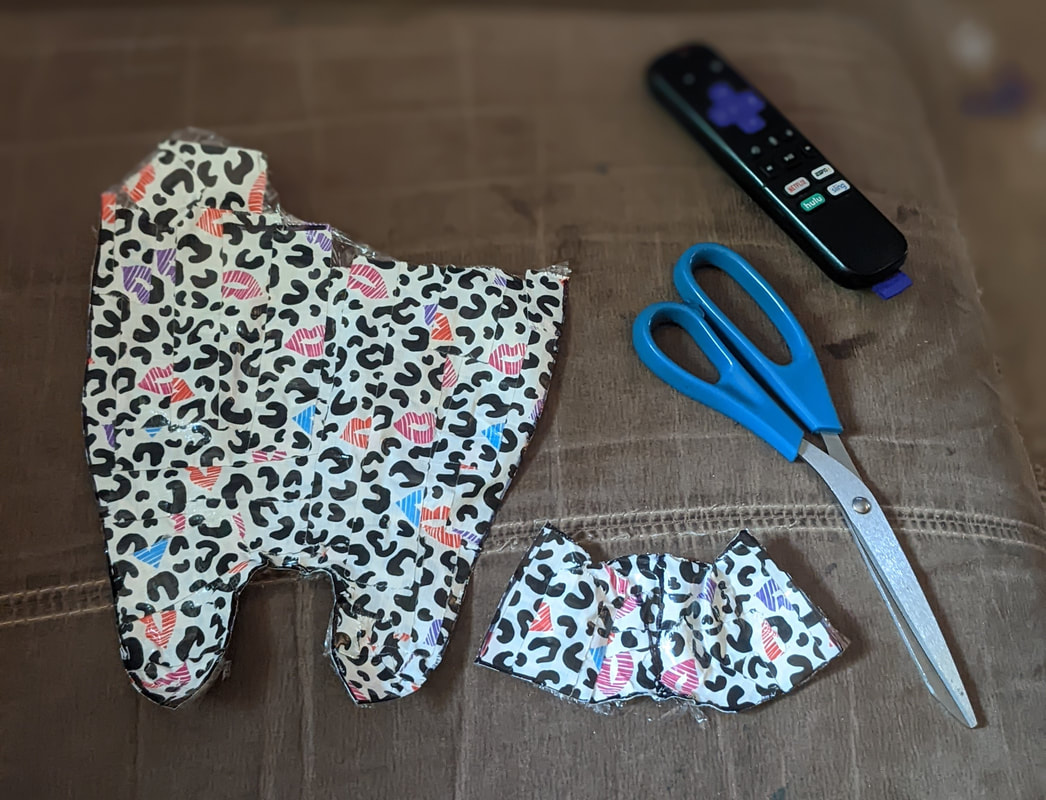
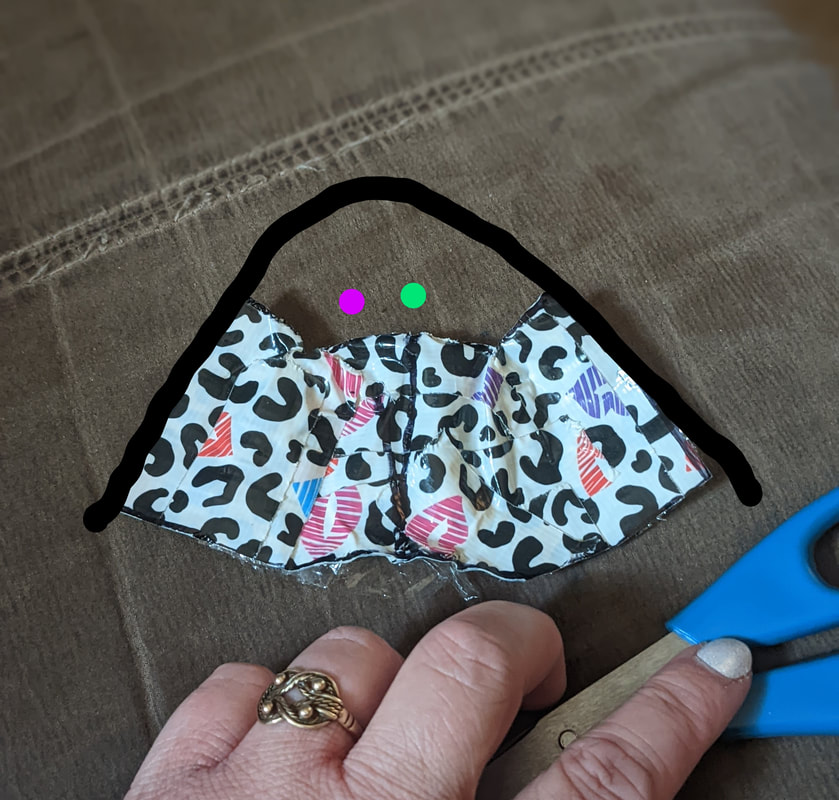
Using knowledge I had from prior projects I decided making a duct tape mold of pieni Rikissa's foot and leg was the best option to make a pattern. See, not only is she (the doll) small child sized, much smaller than I, but... she doesn't have joints! First I did the duct tape mold, then used that as a pattern to cut a cotton test piece. I mean, why waste the beautiful red wool if it didn't work?!
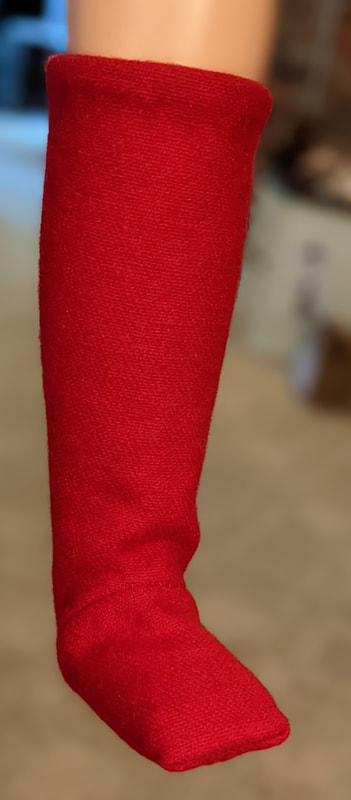
Doll Sock FITTINGIt totally worked! Sewing the London hose pattern together was much easier than I thought. I added too much seam allowance to the toe piece and it was too wide, so that needed some minor adjustment for the final wool sock pattern.
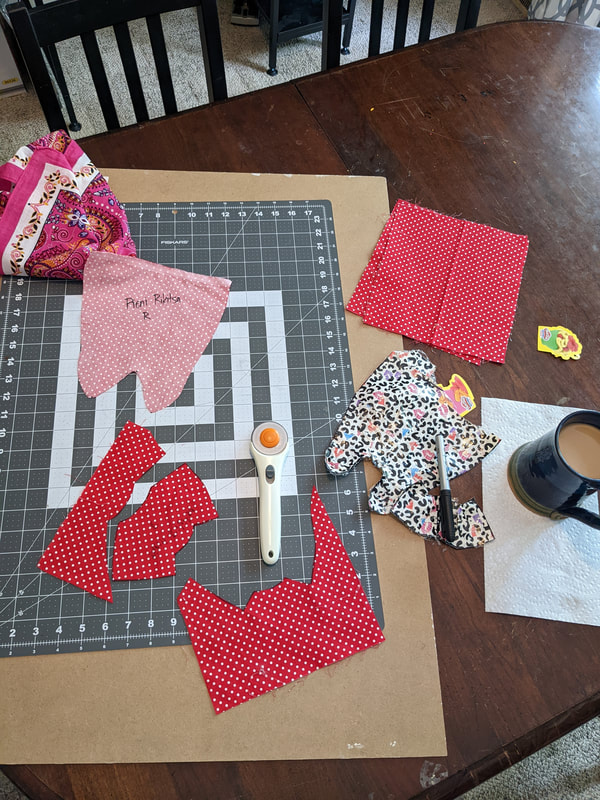
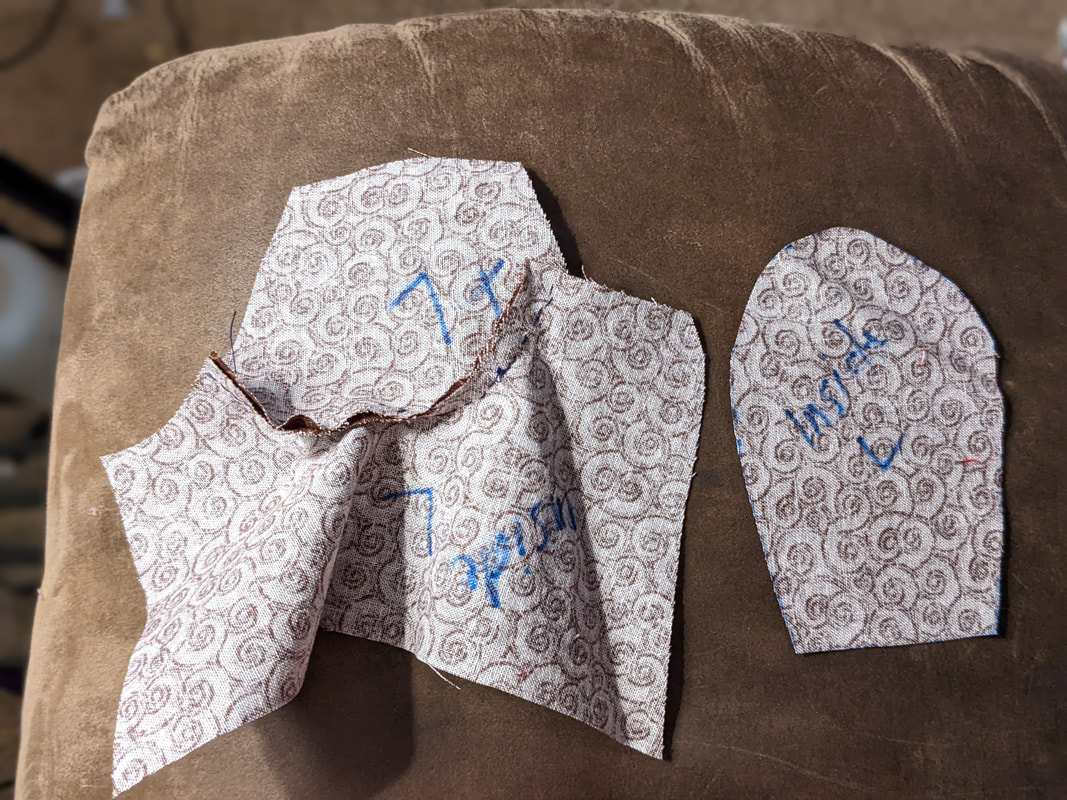
 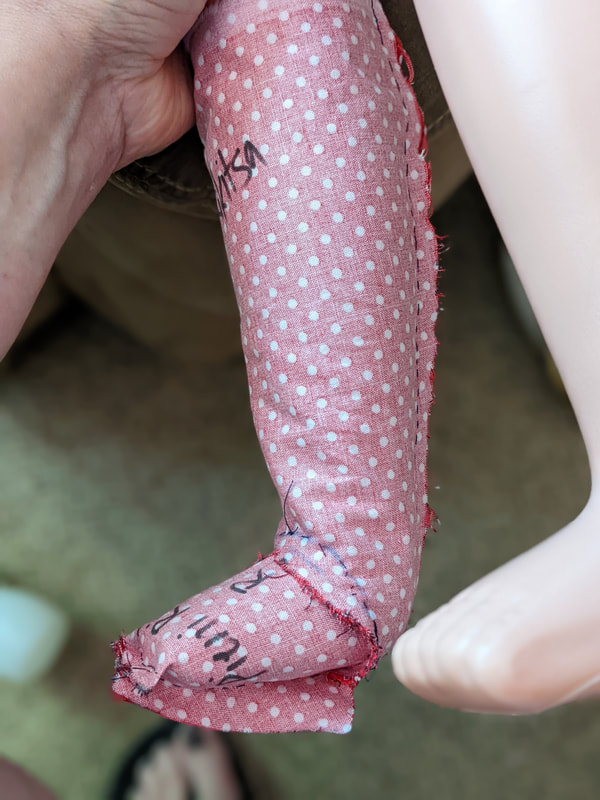  Also since I was unsure of the bottom seams I then drew the bottom piece for the second style, then used the cotton pieces to cut the second (brown) pattern. I chose to do this 3 piece style because I did not want to insert itty bitty side gores on a doll sized sock, and this style still accomplished the goal of no bottom seams.
RED WOOL SOCKS, PART 2London style sockI wanted to hand sew these socks, one because of their size and two because I'm attempting to "up my game" to be more accurate. I blame Magnifica Sylvie la Chardonierre... with much love. hehe
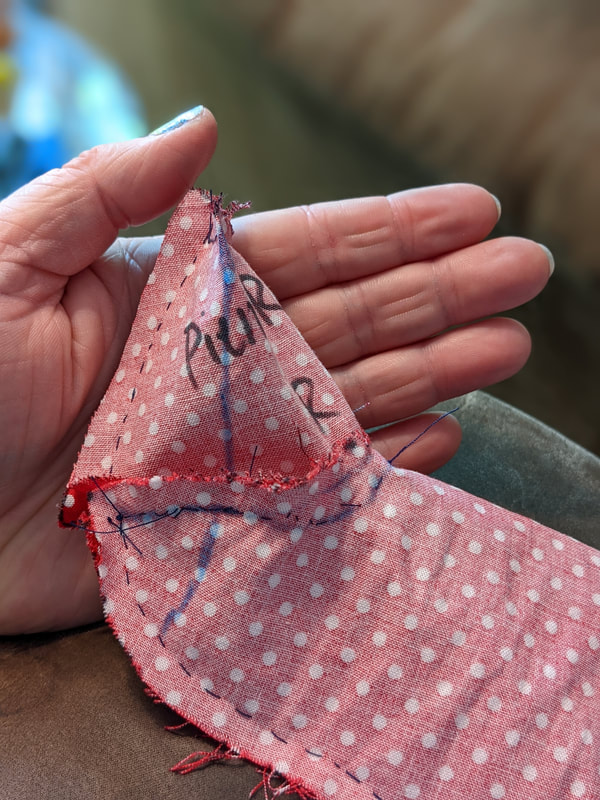
Wool thread in red was not easily found, nor was I able to pull threads and use those for the sewing thread. So, I chose to use red silk thread. Oh my Goodness. How lovely is THAT. If you haven't sewn yet with silk thread... DO EEET. Like warm buttah. Since I wanted flat seams and period stitches I used a "spread seam" like seen in the picture below. A great source I used was from a downloadable PDF called "Stitches and Seam Techniques." Follow the button below to find it. I had no need to fold under the raw edge of the wool, since this wool was not fraying and the raw edge would be cast over by my stitch anyway. this worked great! 
    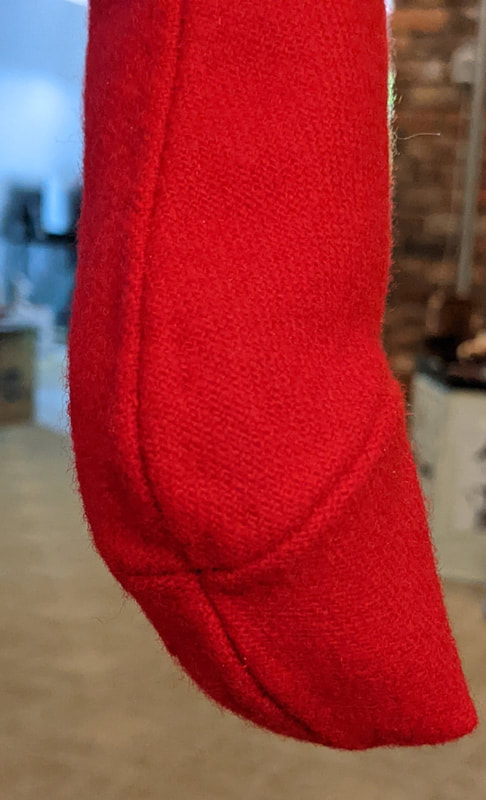   VERSION 2 SOCK, 3RD PIECE FOR SOLEI actually found this pattern choice to be more difficult to make. I suppose that explains why more period correct patterns had the gores. Because of this I decided to make MY socks using the London Hose two piece sock style.
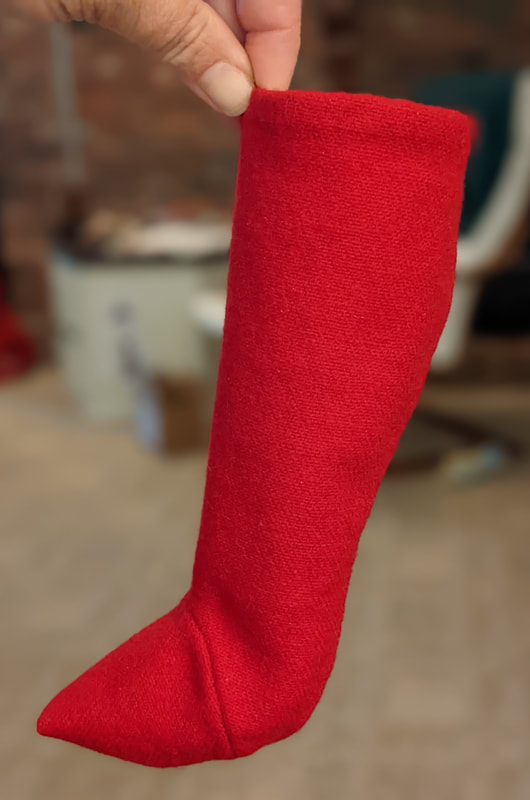
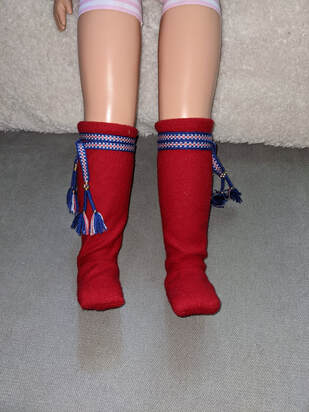
The seam treatments were the same for these as the London style.  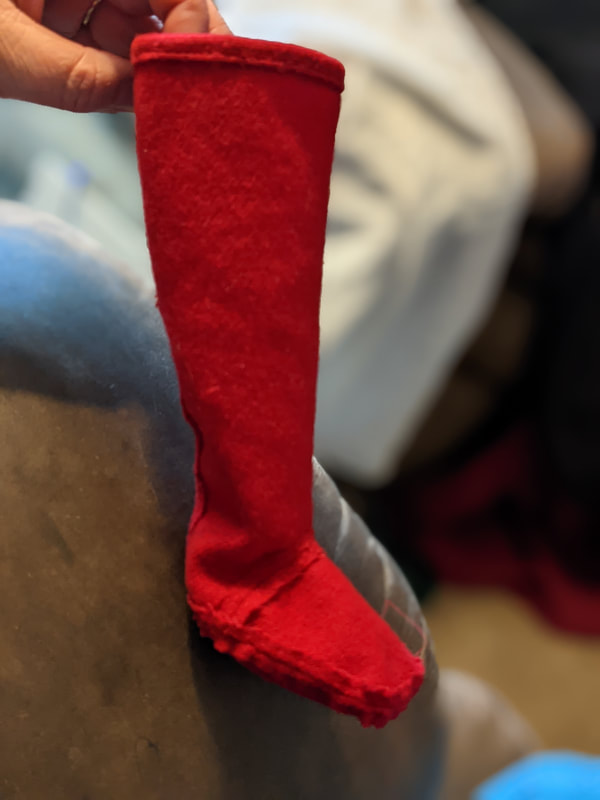 conclusionsLook at these super cute socks!!! These are the totally finished complete socks, including the garters from Ravattula grave 41/2016. (There is a separate blog post on the garters here.)
As I said above, from sewing these two separate patterns I decided, let us chance the seams on the bottom... it's easier to sew! SO.... sew I did. Before sewing MY pair of socks out of my beautiful, correct, 2/2 twill wool.... I thought. HEY I live in the Southern US and wool socks seem really hot. It is May after all and the hot humid is almost upon me. OH! I've got this really pretty orange linen, I'll make my socks from that! So... thus began the process and patterning for my feetsies. and THAT is another blog post.
0 Comments
Your comment will be posted after it is approved.
Leave a Reply. |
AuthorYep, still me. Archives
September 2023
Categories |
 RSS Feed
